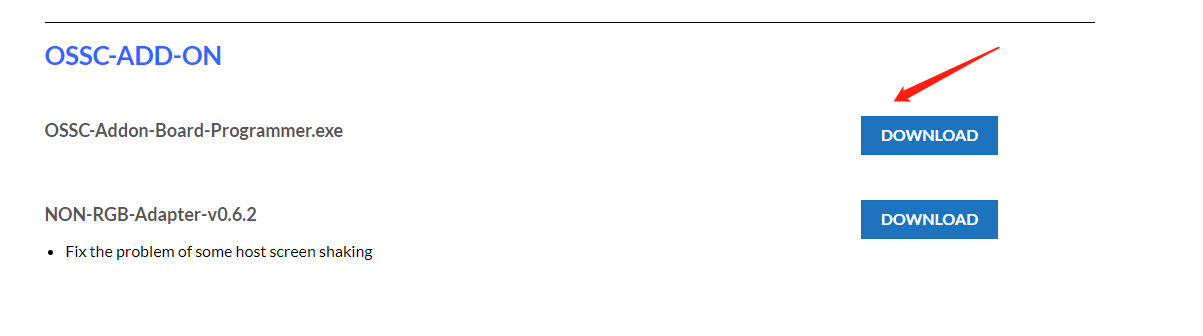
Step 1:
Download The latest version program and firmware.
Step 2:
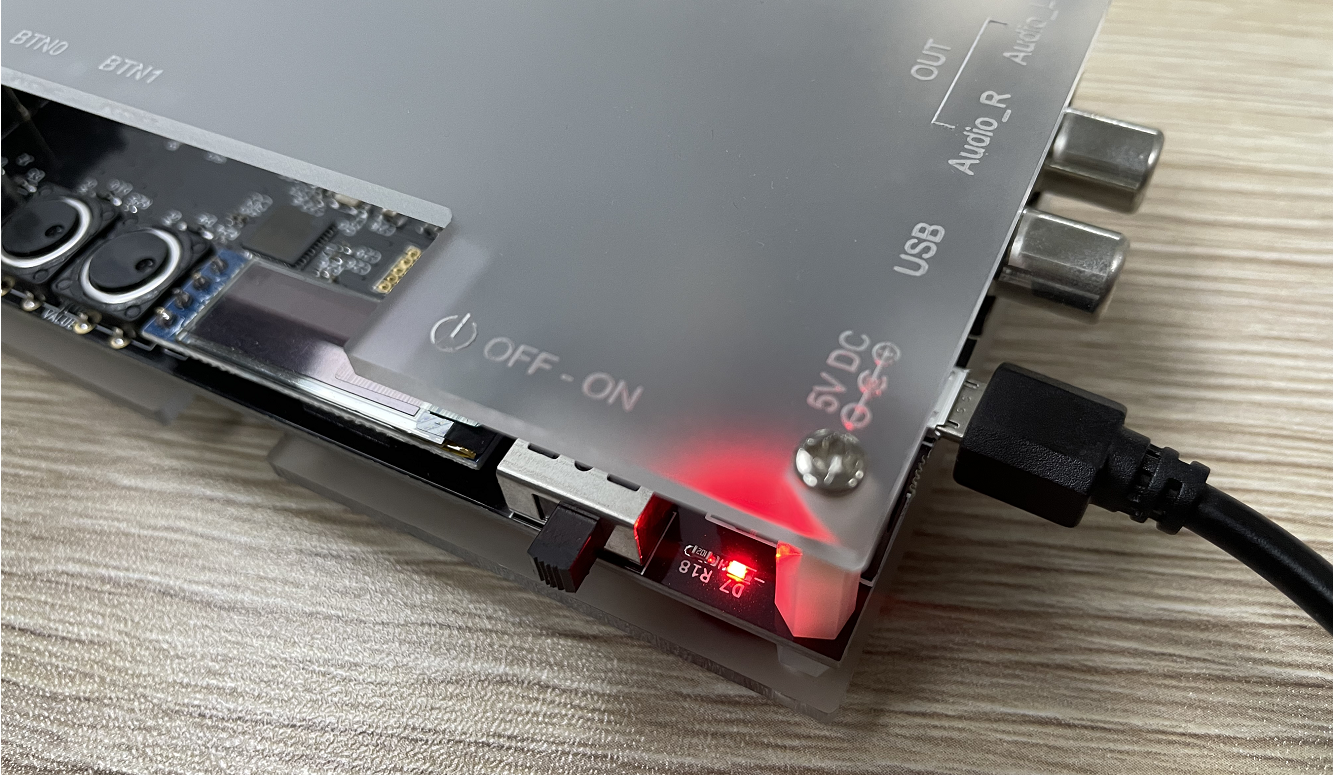
Turn on the power switch
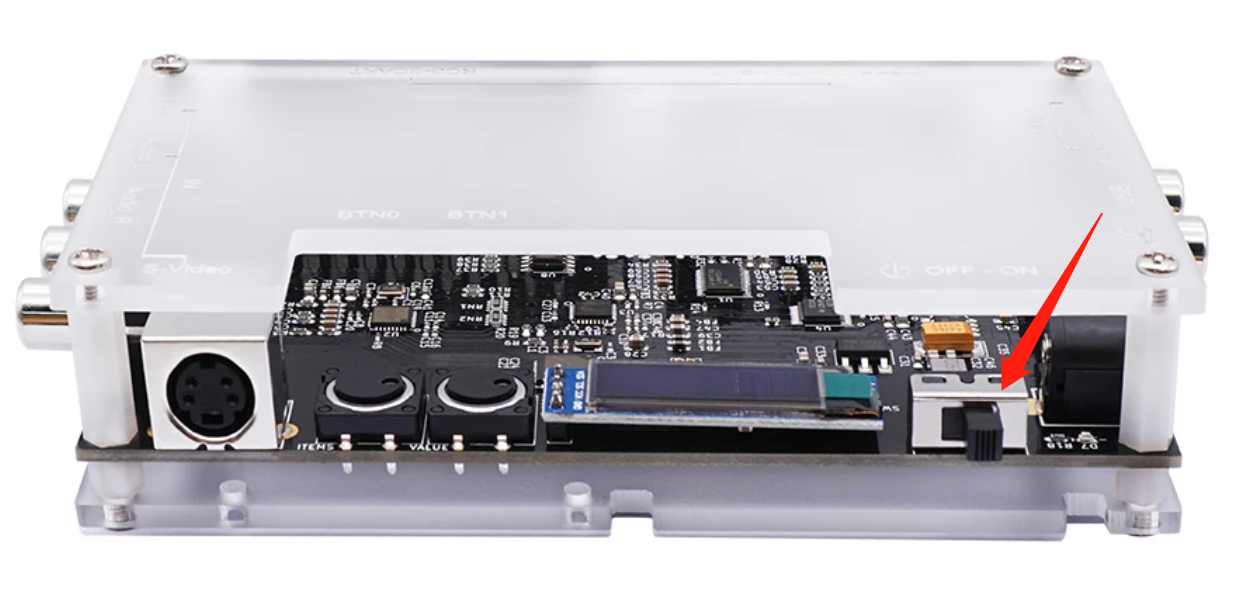
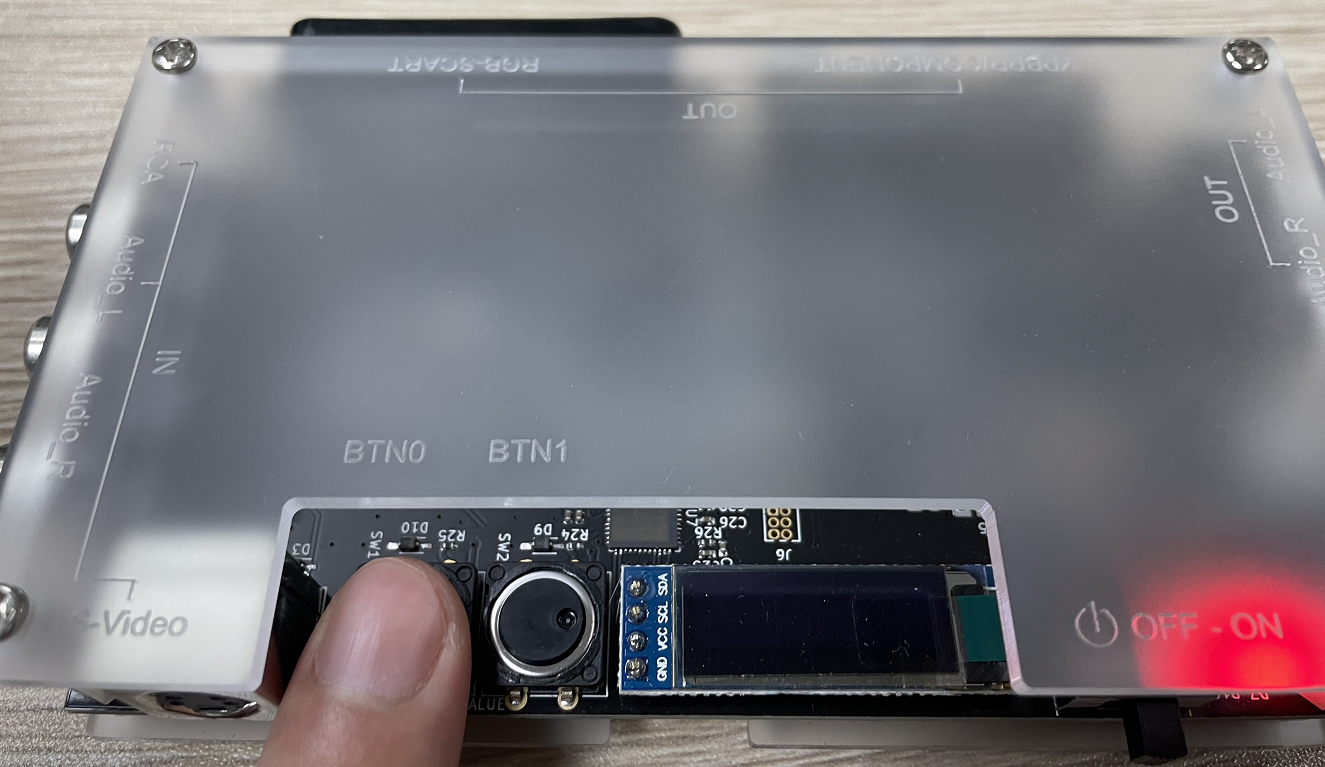
Press and keep hold on the BTNO button on the OSSC add-on board
then connect the micro USB cable from OSSC add-on board’s USB port to your WINDOWS 10 PC.
Step 3:
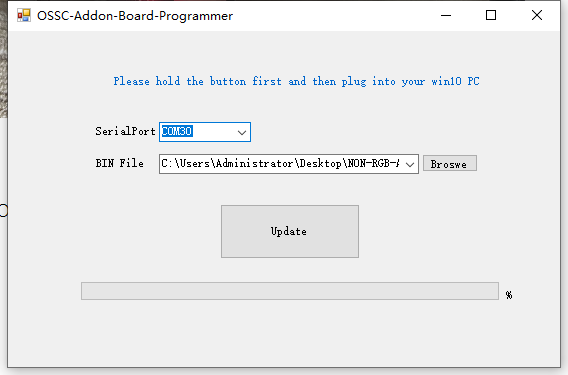
Stop pressing the button “BTN0″,The OSSC add-on board Programmer will auto detect the device, and display the Serial Port like “ COM**”.
Step 4:
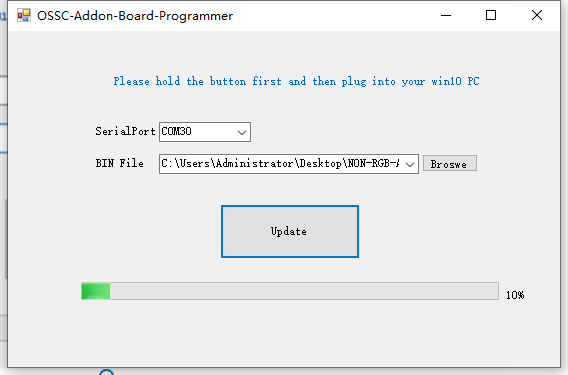
Choose the OSSC add-on board firmware bin file, and then Click the “Update” button.
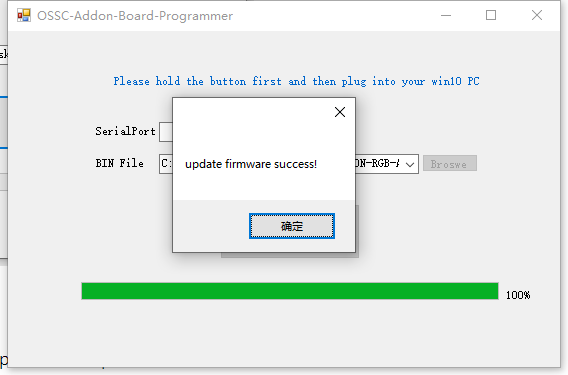
Step 5:
There will be a pop-up alert when the update is complete.